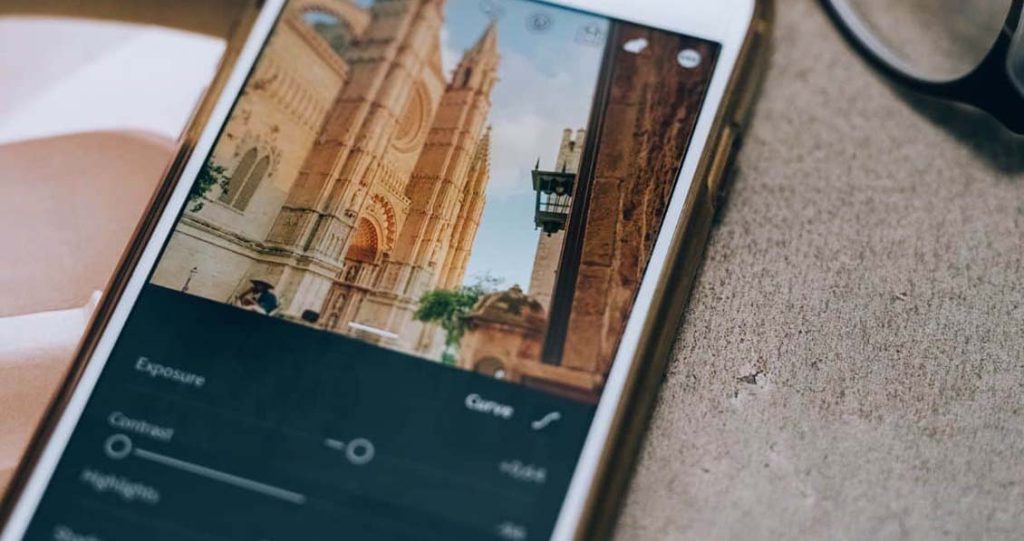
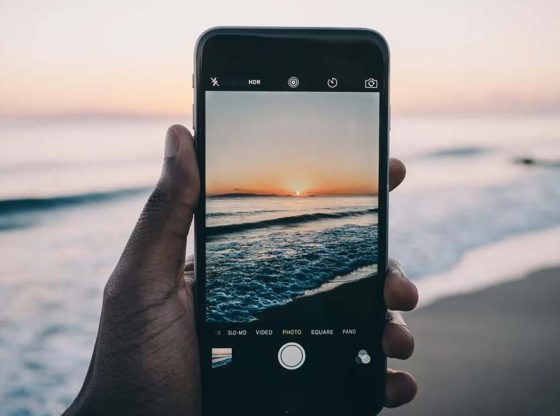
The iPhone has revolutionized photography, making it more accessible than ever before. With its powerful camera system and user-friendly interface, even those with no photography experience can take stunning photos. Whether you’re capturing precious moments, breathtaking landscapes, or everyday life, mastering iPhone photography can elevate your skills and help you create visually stunning images. In this comprehensive guide, we’ll explore essential tips and techniques to help you capture remarkable photos with your iPhone.
1. Understanding Your iPhone Camera
A. Know Your Camera Features
Before diving into photography tips, it’s essential to understand the features of your iPhone camera. Different models offer various capabilities, so familiarize yourself with the specifications of your specific device. Here are some common features:

- Camera Modes: Your iPhone includes several camera modes, including Photo, Portrait, Night, Pano, and Video. Each mode serves a different purpose, so knowing when to use each one is crucial.
- Lens Options: Newer iPhone models come with multiple lenses (wide, ultra-wide, and telephoto). Understanding the strengths of each lens will enhance your composition options.
- Manual Controls: Apps like ProCamera or Halide allow you to take control over exposure, ISO, and focus. While the built-in Camera app is excellent for quick shots, using manual settings can help you achieve desired effects.
B. Exploring Settings
Before taking photos, check your camera settings:
- Grid Lines: Enable grid lines (Settings > Camera > Grid) to help with composition using the rule of thirds.
- Formats: Adjust your photo formats in Settings > Camera > Formats. The HEIF format saves space while maintaining quality.
- Capture Settings: Enable HDR (High Dynamic Range) to balance exposure in high-contrast scenes. For portraits, consider using the Portrait mode for depth effects.
2. Mastering Composition
A. Rule of Thirds
The rule of thirds is a foundational principle in photography. Imagine dividing your frame into a grid of nine equal parts by two vertical and two horizontal lines. Place key subjects along these lines or at their intersections to create a more balanced and engaging composition.
B. Leading Lines
Use leading lines to guide the viewer’s eye through the image. Roads, paths, or fences can draw attention to your subject and create a sense of depth. Experiment with angles to emphasize these lines.
C. Framing
Framing involves using elements in your environment to create a “frame” around your subject. This technique can help focus attention and add context to your photos. Look for natural frames like archways, branches, or windows.
D. Depth and Layers
Add depth to your photos by incorporating foreground, middle ground, and background elements. This layering creates a three-dimensional feel, making your images more dynamic. Experiment with different focal points and perspectives.
E. Symmetry and Patterns
Symmetry can create visually pleasing images. Look for symmetrical scenes, whether in architecture, landscapes, or nature. Patterns can also add interest; capture repetitive elements to create captivating compositions.

3. Lighting Techniques
A. Natural Light
Natural light is one of the most critical aspects of photography. Here are some tips for utilizing it effectively:
- Golden Hour: The golden hour, shortly after sunrise and before sunset, provides soft, warm lighting. This is the ideal time for outdoor photography as it enhances colors and reduces harsh shadows.
- Avoid Harsh Midday Sun: The harsh light of midday can create strong shadows and overexposed highlights. If you must shoot during this time, seek shaded areas or use the shadow of an object to soften the light.
- Backlighting: Shooting into the light can create dramatic effects. Position your subject in front of a light source (like the sun) and expose for the background to achieve a beautiful silhouette.
B. Artificial Light
When natural light isn’t available, you can use artificial light sources:
- LED Lights: Portable LED lights can be used to illuminate your subject, providing even and adjustable lighting.
- Flash: Use the iPhone’s built-in flash sparingly. It can create harsh lighting; instead, consider external flash units that offer better control.
- Creative Use of Light: Experiment with different light sources, such as candles or streetlights, to create unique moods in your photos.
4. Techniques for Stunning Shots
A. Experiment with Angles
Changing your perspective can drastically alter your photos. Here are some angles to try:
- Low Angle: Shoot from a low angle to make your subject appear more imposing or to capture interesting foreground elements.
- High Angle: A high angle can give a unique overview of your subject or scene. This perspective is particularly effective for group shots or landscapes.
- Dutch Angle: Tilting your camera slightly (Dutch angle) can add dynamism and drama to your photos, especially in action shots or creative portraits.
B. Focus and Depth of Field
- Focus Control: Tap on your iPhone screen to set focus on a specific subject. This is especially important for portraits, where you want to isolate your subject from the background.
- Depth of Field: Use Portrait mode to achieve a shallow depth of field effect, blurring the background while keeping your subject sharp. This technique adds a professional touch to your portraits.
C. Use Burst Mode
Burst mode allows you to capture a series of photos in quick succession. This is perfect for action shots, like kids playing or pets running. Simply hold down the shutter button, and your iPhone will take multiple photos in rapid sequence. You can then choose the best shot.
D. Long Exposure Effects
While the iPhone camera doesn’t have a dedicated long exposure mode, you can simulate this effect:
- Live Photos: Use the Live Photos feature to capture a short video before and after the shot. You can then select the best frame or create a long exposure effect in editing.
- Apps: Consider using third-party apps like Slow Shutter Cam to achieve long exposure effects for moving water or light trails.

5. Editing Your Photos
A. Use Built-in Editing Tools
The iPhone comes equipped with robust editing tools in the Photos app. Here’s how to enhance your images:
- Adjustments: Tap “Edit” on any photo, then use adjustments like exposure, contrast, brightness, and saturation to enhance your image.
- Filters: Explore the various filters available to apply a unique style to your photos. Be mindful not to overdo it—subtlety often yields better results.
- Crop and Rotate: Crop your photos to remove distractions or improve composition. Use the grid lines as a guide for aligning your subject.
B. Third-Party Editing Apps
For more advanced editing, consider using third-party apps such as:
- Adobe Lightroom: Offers powerful editing tools and presets for professional-grade adjustments.
- Snapseed: A user-friendly app that provides a wide range of editing features, including selective adjustments and healing tools.
- VSCO: Known for its filters, VSCO also offers editing tools that can help you create a consistent aesthetic.
6. Creative Ideas for iPhone Photography
A. Explore Different Genres
- Portrait Photography: Experiment with different lighting and backgrounds. Use natural light for softer results and try different poses and expressions.
- Landscape Photography: Capture the beauty of nature by exploring different locations. Pay attention to the foreground and background elements to create depth.
- Street Photography: Document everyday life in your surroundings. Be candid, and focus on storytelling through your images.
- Food Photography: Use natural light to capture delicious meals. Consider styling the plate and using interesting angles to make the food appealing.
- Travel Photography: Capture your adventures by focusing on local culture, landmarks, and experiences. Use your surroundings to create compelling narratives.
B. Experiment with Self-Portraits
Self-portraits can be a fun way to explore creativity. Use the timer function to take self-portraits, experiment with different poses, and utilize natural light for flattering results. Consider incorporating props or different settings to add interest to your images.
C. Try Macro Photography
Many iPhones have a capability for close-up shots. Get creative by photographing small subjects, like flowers, insects, or everyday objects. Use natural light to enhance details and textures.
Mastering iPhone photography takes time, patience, and practice. By understanding your camera’s features, honing your composition skills, experimenting with lighting, and using effective editing techniques, you can capture stunning photos that tell a story. Remember that photography is an art form, and there are no strict rules—feel free to explore, experiment, and develop your unique style.
Invest time in practicing these tips, and don’t hesitate to share your photos with others. Join photography communities online or on social media to gain inspiration, receive feedback, and learn from fellow enthusiasts. The more you practice, the better your skills will become, and soon enough, you’ll be creating stunning images that showcase your creativity and passion for photography.
Whether you’re capturing life’s fleeting moments, breathtaking landscapes, or everyday occurrences, your iPhone is a powerful tool that can help you document your world in a beautiful and meaningful way.

